
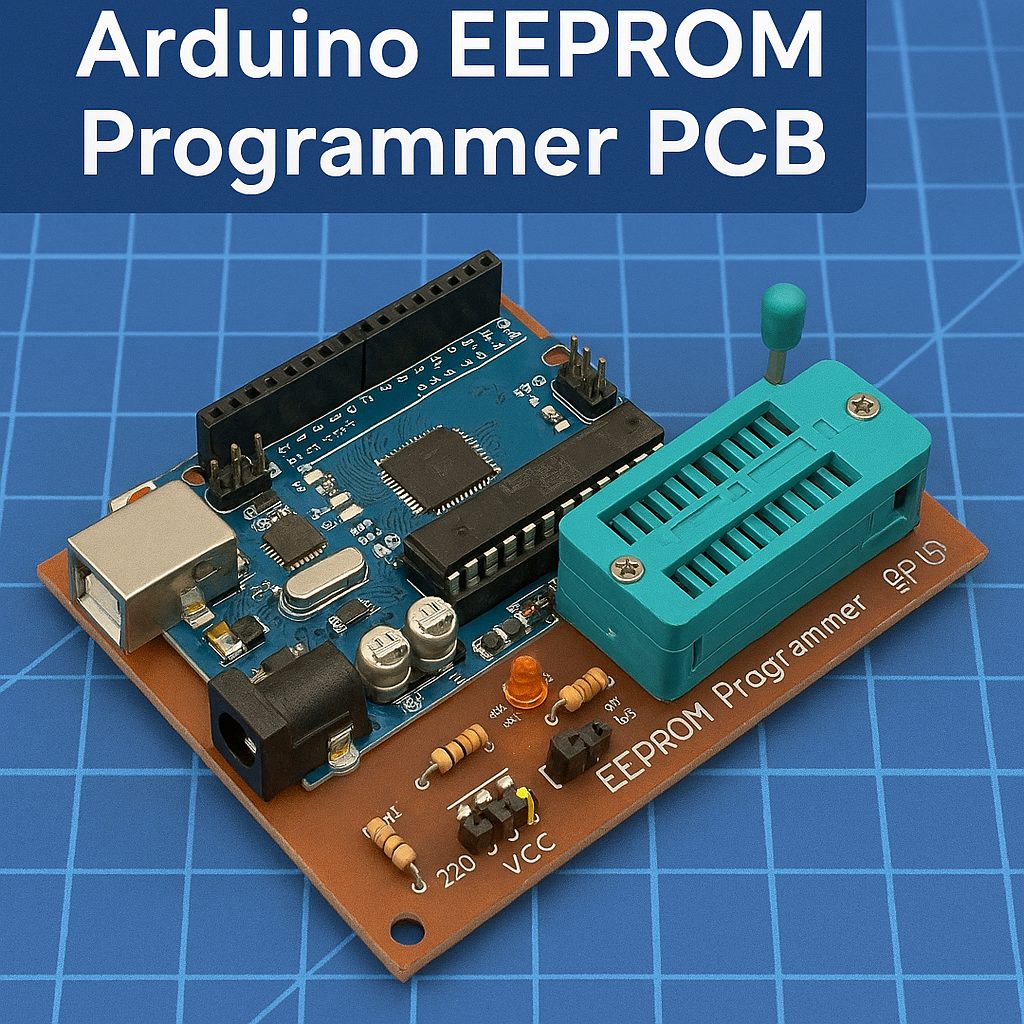
Step-Up Beginner Project: Arduino EEPROM Programmer PCB
In this project, you’ll build your first memory programmer using an Arduino Uno and an EEPROM chip. You’ll learn how devices store data and how to read/write memory using a simple PCB you can build yourself.
🔌 What This Project Does
- Writes data to an EEPROM chip
- Reads data back
- Displays results in Arduino Serial Monitor
- Teaches real-world communication (I2C)
🧩 Core Components (BOM)
| Component | Example | Qty |
|---|---|---|
| EEPROM Chip | 24LC256 | 1 |
| Microcontroller | Arduino Uno | 1 |
| Resistors | 4.7kΩ (pull-ups) | 2 |
| Capacitor | 0.1µF | 1 |
| Pin Headers | Male/Female | As needed |
🔧 Circuit Design (Simple Explanation)
The EEPROM communicates using I2C:
- SDA = Data
- SCL = Clock
👉 These connect to the Arduino:
- SDA → A4
- SCL → A5
Pull-up resistors (important!):
- SDA → 4.7kΩ → VCC
- SCL → 4.7kΩ → VCC
📐 PCB Design Plan
💻 Arduino Code
Use:
- KiCad
- Eagle
- Altium Designer
Layout Tips:
- Keep traces short and clean
- Label:
- SDA
- SCL
- VCC
- GND
- Use through-hole components (beginner-friendly)
- Add a 4-pin header:
- VCC / GND / SDA / SCL
🌐
filename.html
#include <Wire.h>

#define EEPROM_ADDR 0x50

void writeEEPROM(int address, byte data) {
  Wire.beginTransmission(EEPROM_ADDR);
  Wire.write((int)(address >> 8));   // MSB
  Wire.write((int)(address & 0xFF)); // LSB
  Wire.write(data);
  Wire.endTransmission();
  delay(5);
}

byte readEEPROM(int address) {
  Wire.beginTransmission(EEPROM_ADDR);
  Wire.write((int)(address >> 8));
  Wire.write((int)(address & 0xFF));
  Wire.endTransmission();

  Wire.requestFrom(EEPROM_ADDR, 1);
  return Wire.read();
}

void setup() {
  Serial.begin(9600);
  Wire.begin();

  Serial.println("Writing data...");
  writeEEPROM(0, 123);

  Serial.println("Reading data...");
  byte data = readEEPROM(0);

  Serial.print("Value: ");
  Serial.println(data);
}

void loop() {
}