
Beginner’s Guide to Arduino: Your First LED Project
Are you curious about electronics and eager to start your journey into the world of microcontrollers? Arduino is an excellent platform for beginners, offering an accessible way to learn about programming, hardware, and creativity. In this guide from PCBElectronics.co.uk, we’ll walk you through your very first Arduino project: lighting up an LED!
What is Arduino?
Arduino is an open-source electronics platform based on easy-to-use hardware and software. It’s popular among hobbyists, students, and professionals for prototyping and building interactive projects. The heart of the system is the Arduino board, which can be programmed to control lights, motors, sensors, and much more.
What You’ll Need
- Arduino board (such as the Arduino Uno)
- USB cable (to connect Arduino to your computer)
- LED (any colour)
- 220-ohm resistor
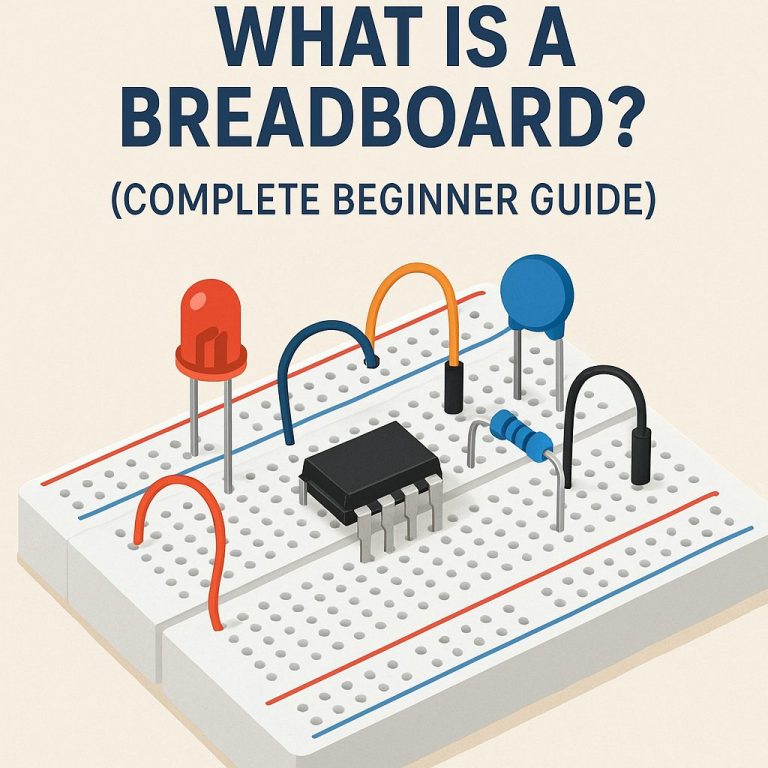
- Breadboard
- Jumper wires
All of these components are readily available from electronics suppliers and starter kits.
Step 1: Setting Up
- Install the Arduino IDE: Download the free Arduino software (IDE) from the official website and install it on your computer.
- Connect Your Arduino: Plug the Arduino into your computer using the USB cable. The power LED on the board should light up.
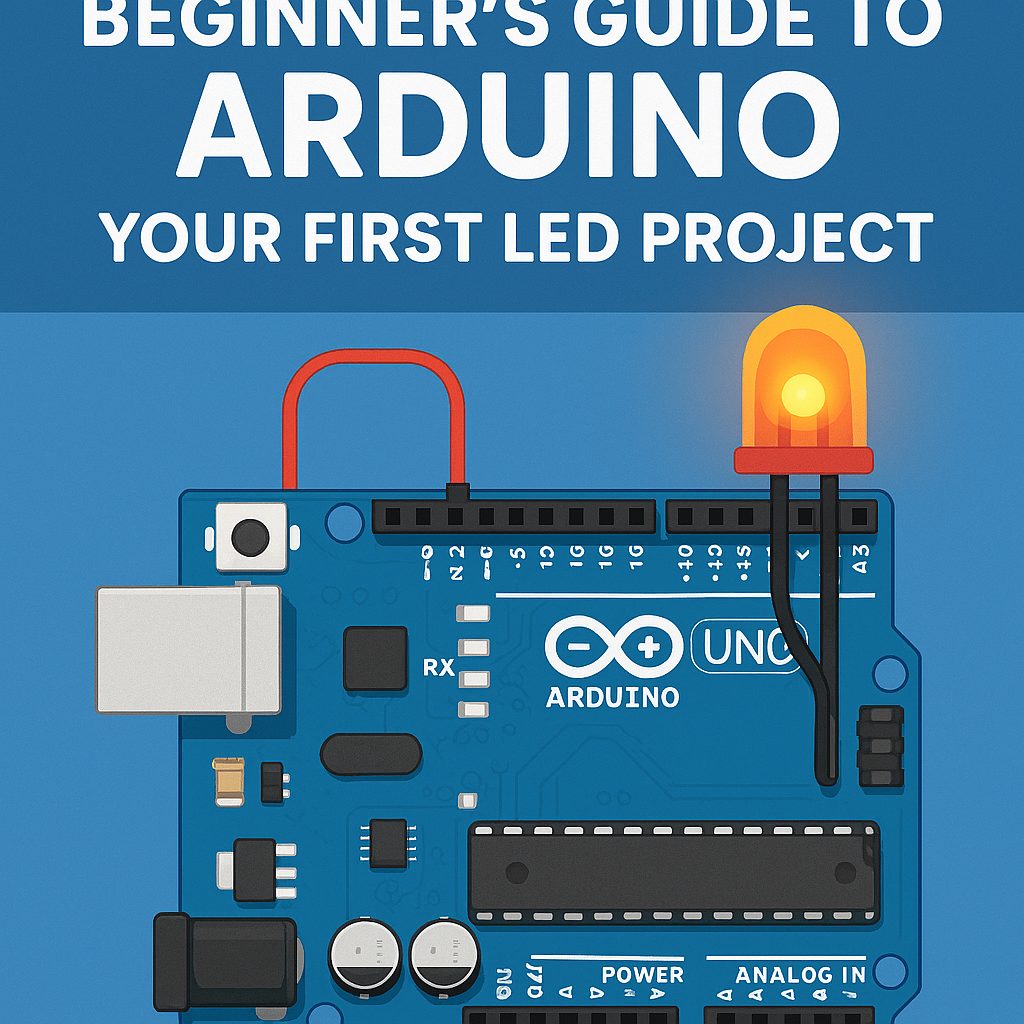
Step 2: Building the Circuit
- Place your LED on the breadboard.
- Connect the long leg (anode) of the LED to digital pin 13 on the Arduino through a 220-ohm resistor.
- Connect the short leg (cathode) of the LED to one of the Arduino’s GND (ground) pins.
Tip: The resistor protects your LED from burning out by limiting the current.
Step 3: Writing Your First Code
Open the Arduino IDE and write the following code:
void setup() {
pinMode(13, OUTPUT); // Set pin 13 as output
}
void loop() {
digitalWrite(13, HIGH); // Turn LED on
delay(1000); // Wait one second
digitalWrite(13, LOW); // Turn LED off
delay(1000); // Wait one second
}
This code makes the LED blink on and off every second.
Step 4: Upload and Watch It Blink
- In the Arduino IDE, select your board type and port from the Tools menu.
- Click the upload button (right arrow icon). After a few moments, your LED should start blinking!
Troubleshooting Tips
- Check your wiring: Make sure the LED is connected the right way round.
- Resistor placement: The resistor can be on either leg of the LED.
- Port selection: Ensure you’ve selected the correct COM port in the Arduino IDE.
What’s Next?
You’ve just completed your first Arduino project! From here, try experimenting:
- Change the blink rate by adjusting the delay() values.
- Use different pins and multiple LEDs.
- Explore sensors to control the LED with input.
Arduino opens up endless possibilities for learning and fun. For more guides, parts, and support, visit PCBElectronics.co.uk and start building today!

